7. Lithium Battery Bank Installation Guidelines
By the Blue Heron Tech Support Team

1. Expertise – Seek professional assistance from an electrical engineer or qualified marine or electrical technician, on proper installation procedures. The following are some key reminders that are part of the process. These do not take the place of professional expertise to know the details on properly completing these steps.
2. Chock – You should place blocking or chocks along sides and ends of your batter bank. Secure these solidly to the battery bank base or platform with SS screws #8 or larger. Do not rely on glue, Velcro, or just friction.
3. Tie-Down – Secure tie-down straps also securely anchored to the platform with large screws is vital. It can be very dangerous to have a lithium battery thrown around. We are fans of redundancy, and like two tie-downs per battery.
4. Ventilation – Although you get away from concerns with off-gassing dangerous gases like hydrogen when you switch to lithium, one still needs to allow good ventilation to disperse heat from charging, particularly as cells age. Such heat accelerates aging of the lithium cells.
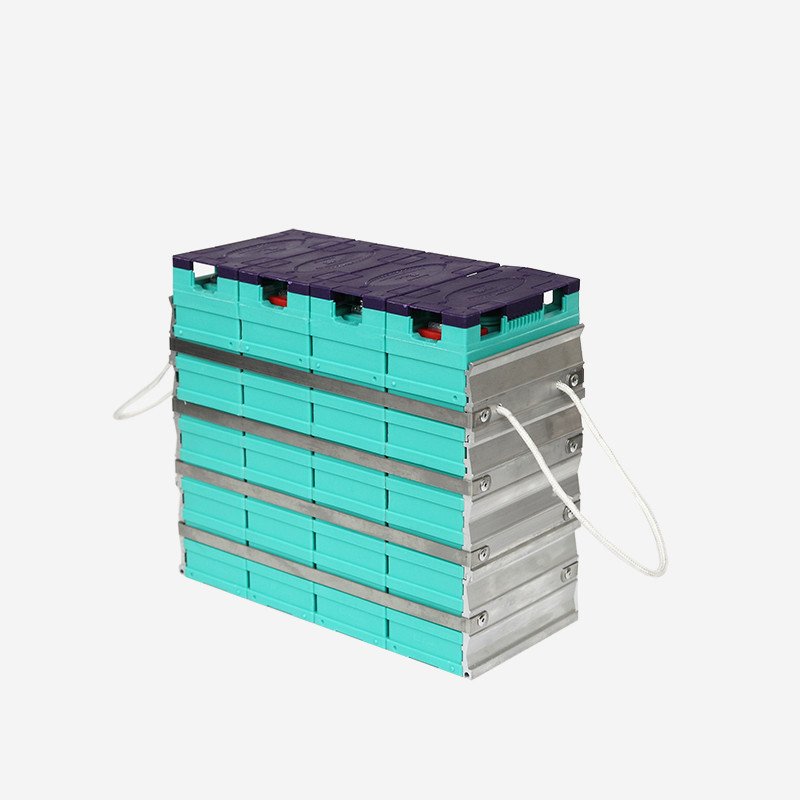
5. Air Space – Locate battery cells and battery assemblies with air space between cells and batteries to allow for dispersing any heat accumulation.
6. Dry Locker – Place your boat or RV battery bank in a locker that is dry; and for your solar bank place in a box elevated at least two inches off the floor if in a garage, basement or similar.
7. Terminal and connection coating – We like to use Boeshield spray coat on terminals and exposed connections. The waxy coating stays in place and does not float off with condensation.
8. Shunt – For accurate current and amp-hour measurement, place your appropriately sized shunt close to the main negative terminal from the battery bank.
9. Fuses – Place a battery bank heavy power fuse on your battery bank positive lead, close to the battery bank, and separately fuse each battery (we recommend post fuses to keep the installation simple). Size the battery fuse for the peak discharge the BMS permits for the battery. Size battery bank cable per NEC/ABYC requirements for max total current you would anticipate from the battery bank and size the battery bank fuse accordingly. The cable can be conservatively sized larger than the max load and the fuse per NEC, but never smaller.
10. Battery Monitor – Be sure to install a good quality battery monitor like Victron or Xantrex to monitor condition of your battery bank, state of charge, confirm charging, and to periodically test capacity.
11. Install small wires for cell balancing, and larger negative cable for battery output from the BMS. Select a quality BMS that monitors over current, over and under voltage, charging rate, discharge rate, low and high temperature of cell surface and battery terminal, and State of Charge (SOC).
12. Cover – Install a cover over the full battery bank to prevent any accidental contact of terminals, and resulting serious short circuit.
13. Secure Connections - Make sure all terminal connections are tight; be sure to use long enough bolts to make solid connection at terminals – preferably three full turns, with a lockwasher.
14. Equal Resistance – When running positive and negative cables from parallel batteries to a bus bar, be sure all positive and negative cables are the same length.
15. Settings - Be sure to set battery charger, alternator regulator and solar controller settings consistent with lithium battery manufacturer’s specifications.
16. ABYC/NEC – On your boat, follow ABYC guidelines on battery installation (Chapter E10). On your solar battery bank, follow the US National Electric Code (NEC).
(This technical article is the property of Blue Heron Battery LLC and may not be copied or reprinted in whole or in part without the express permission of Blue Heron Battery LLC.)